


 Main Features:
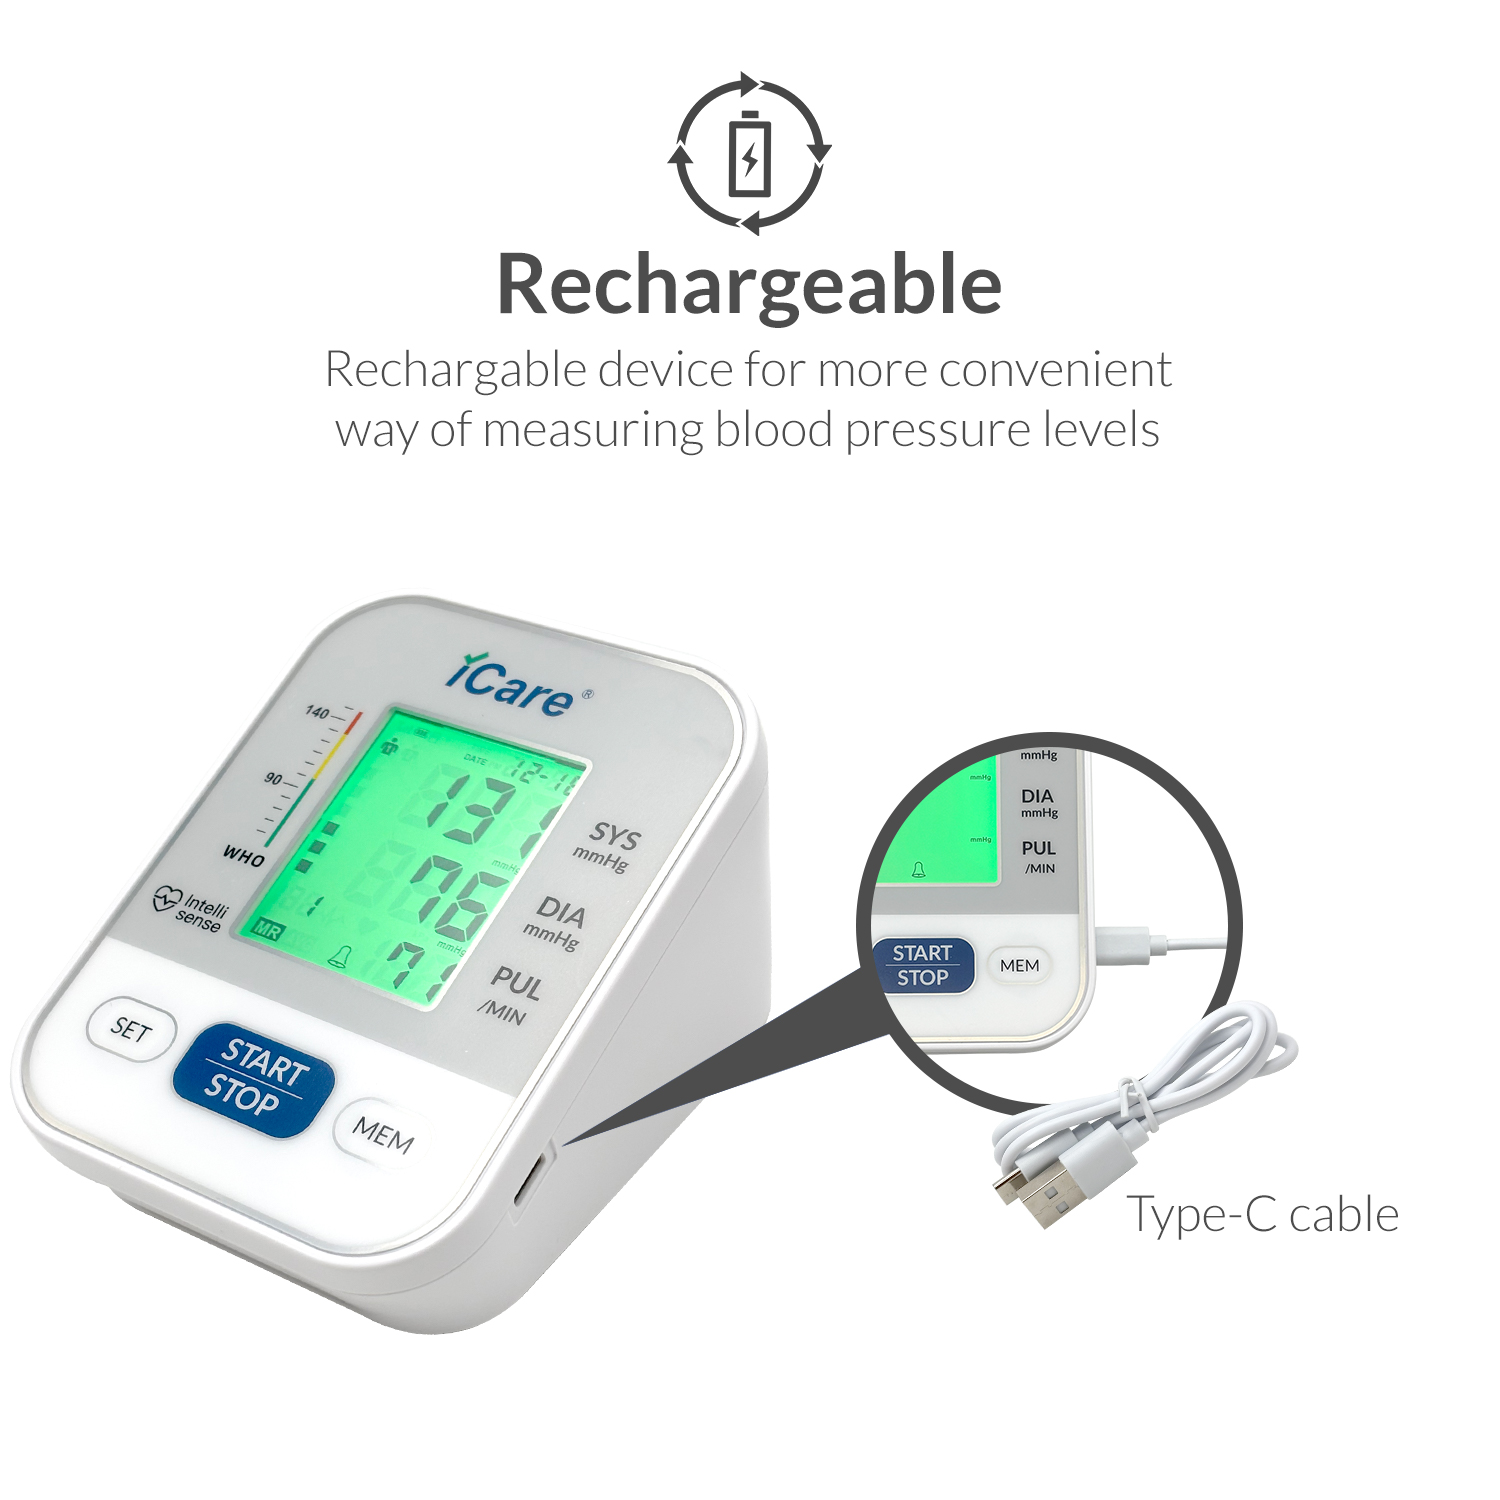
Rechargeable
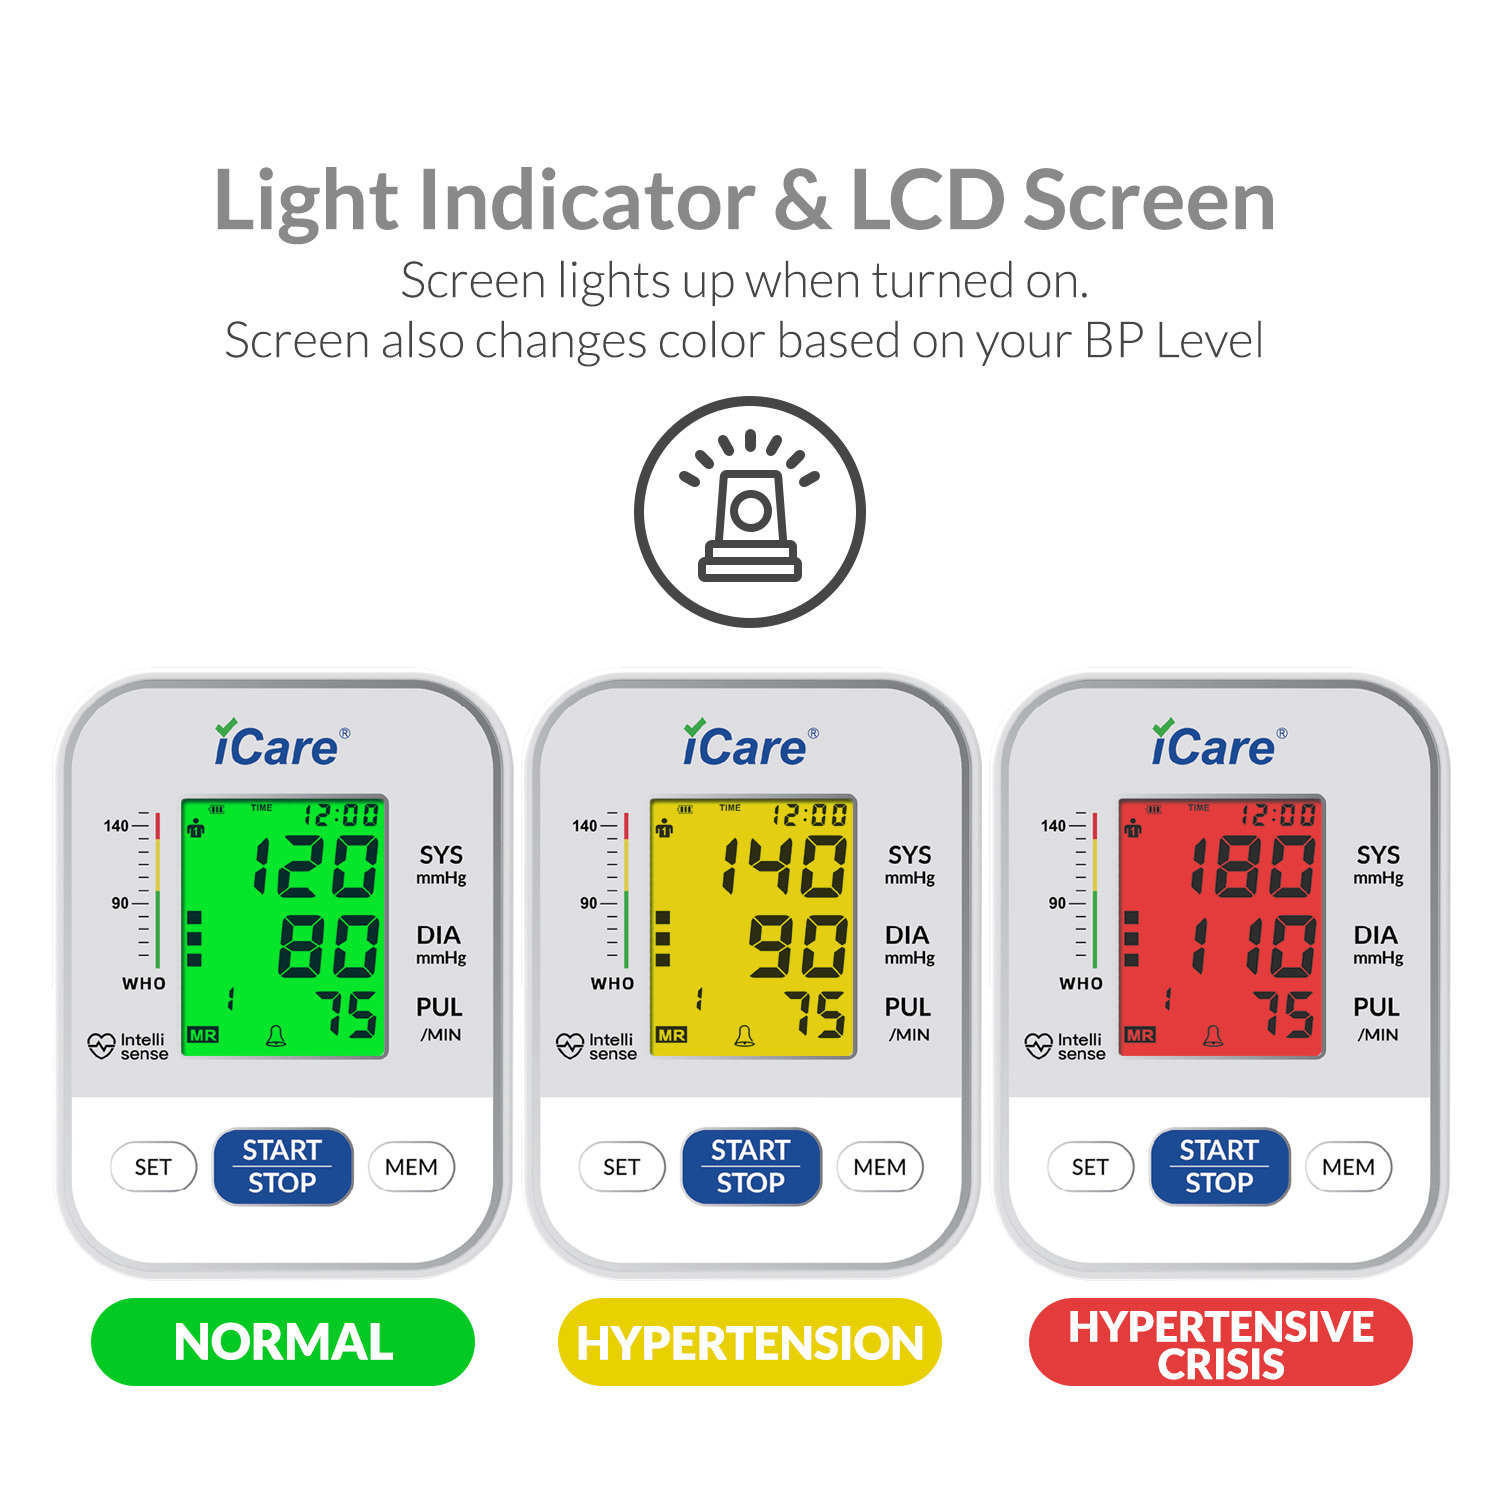
Light Indicator (Light changes depending on BP level)
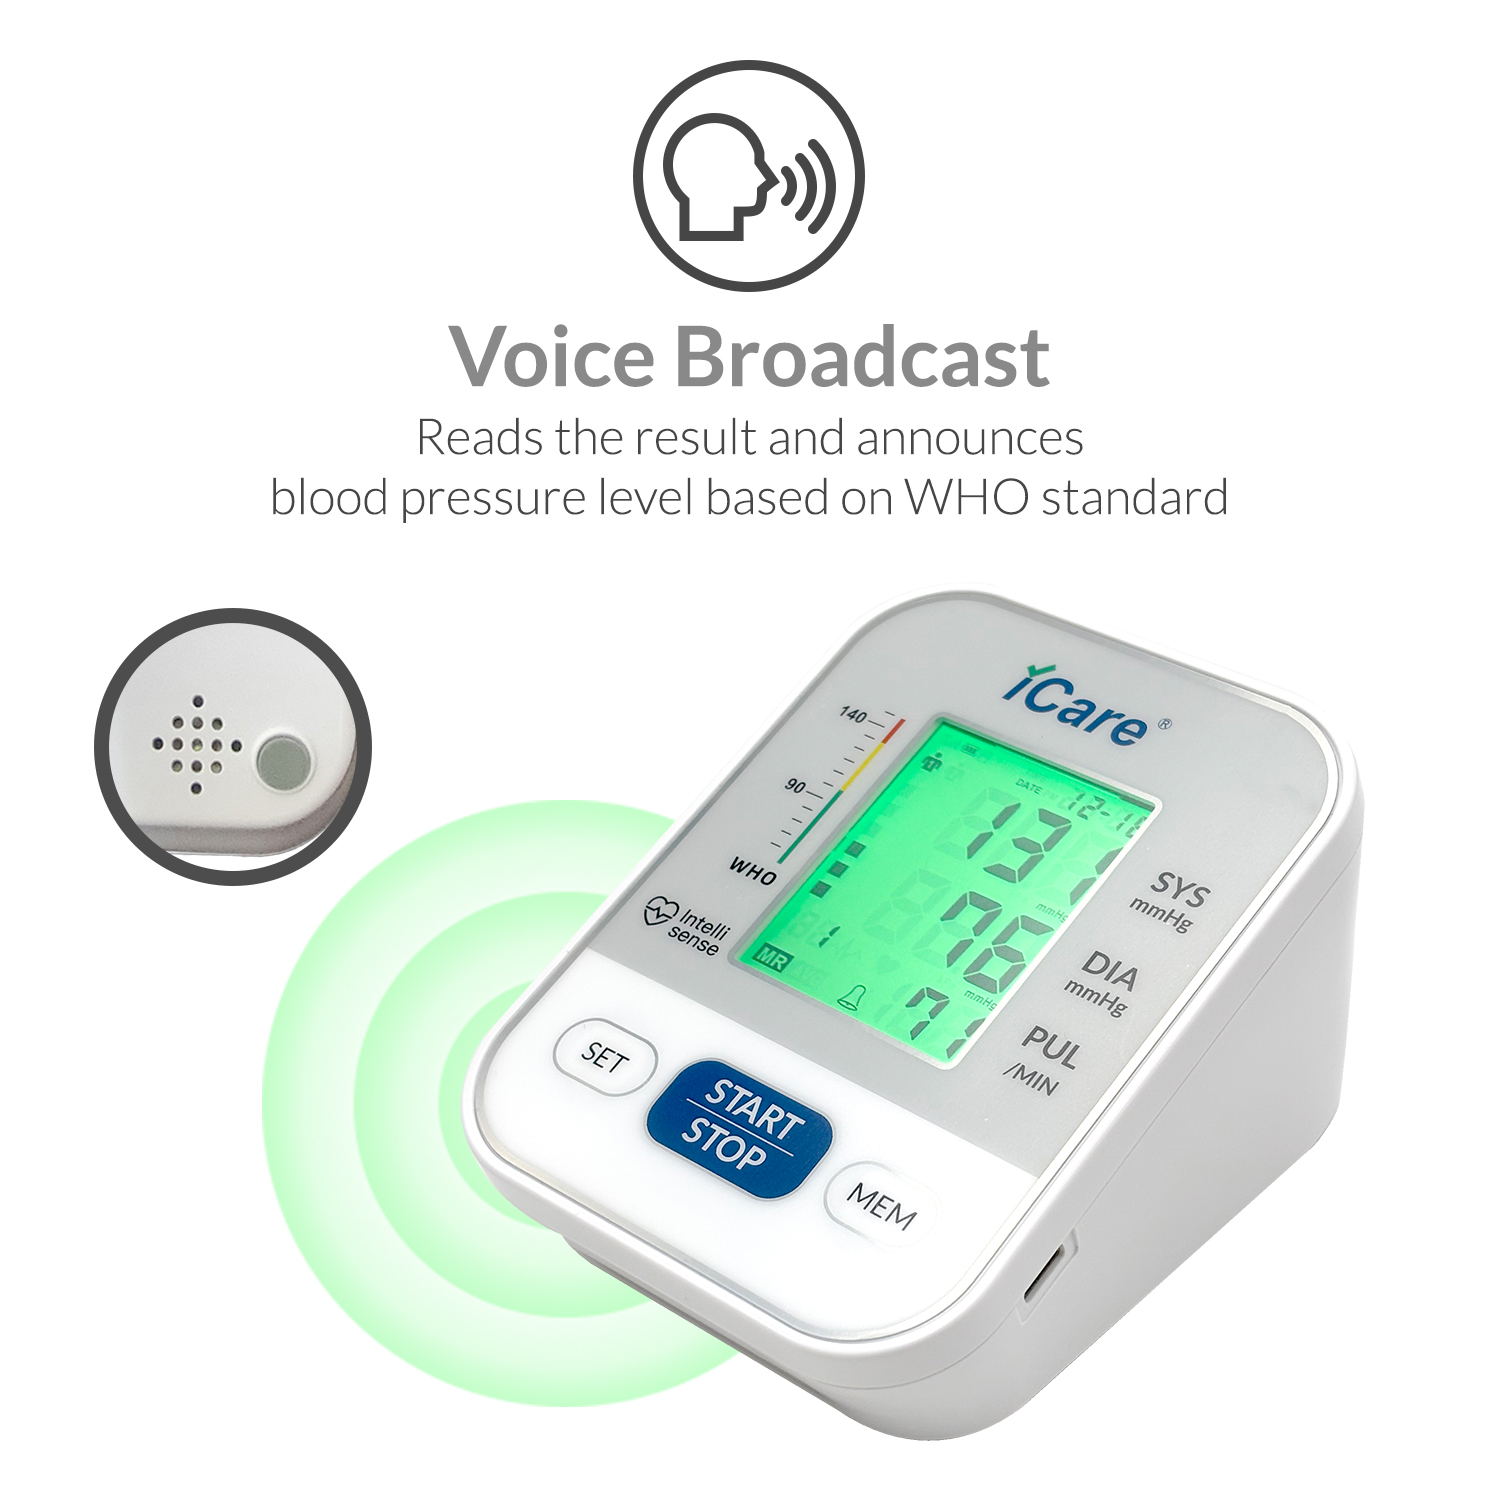
Voice Broadcast
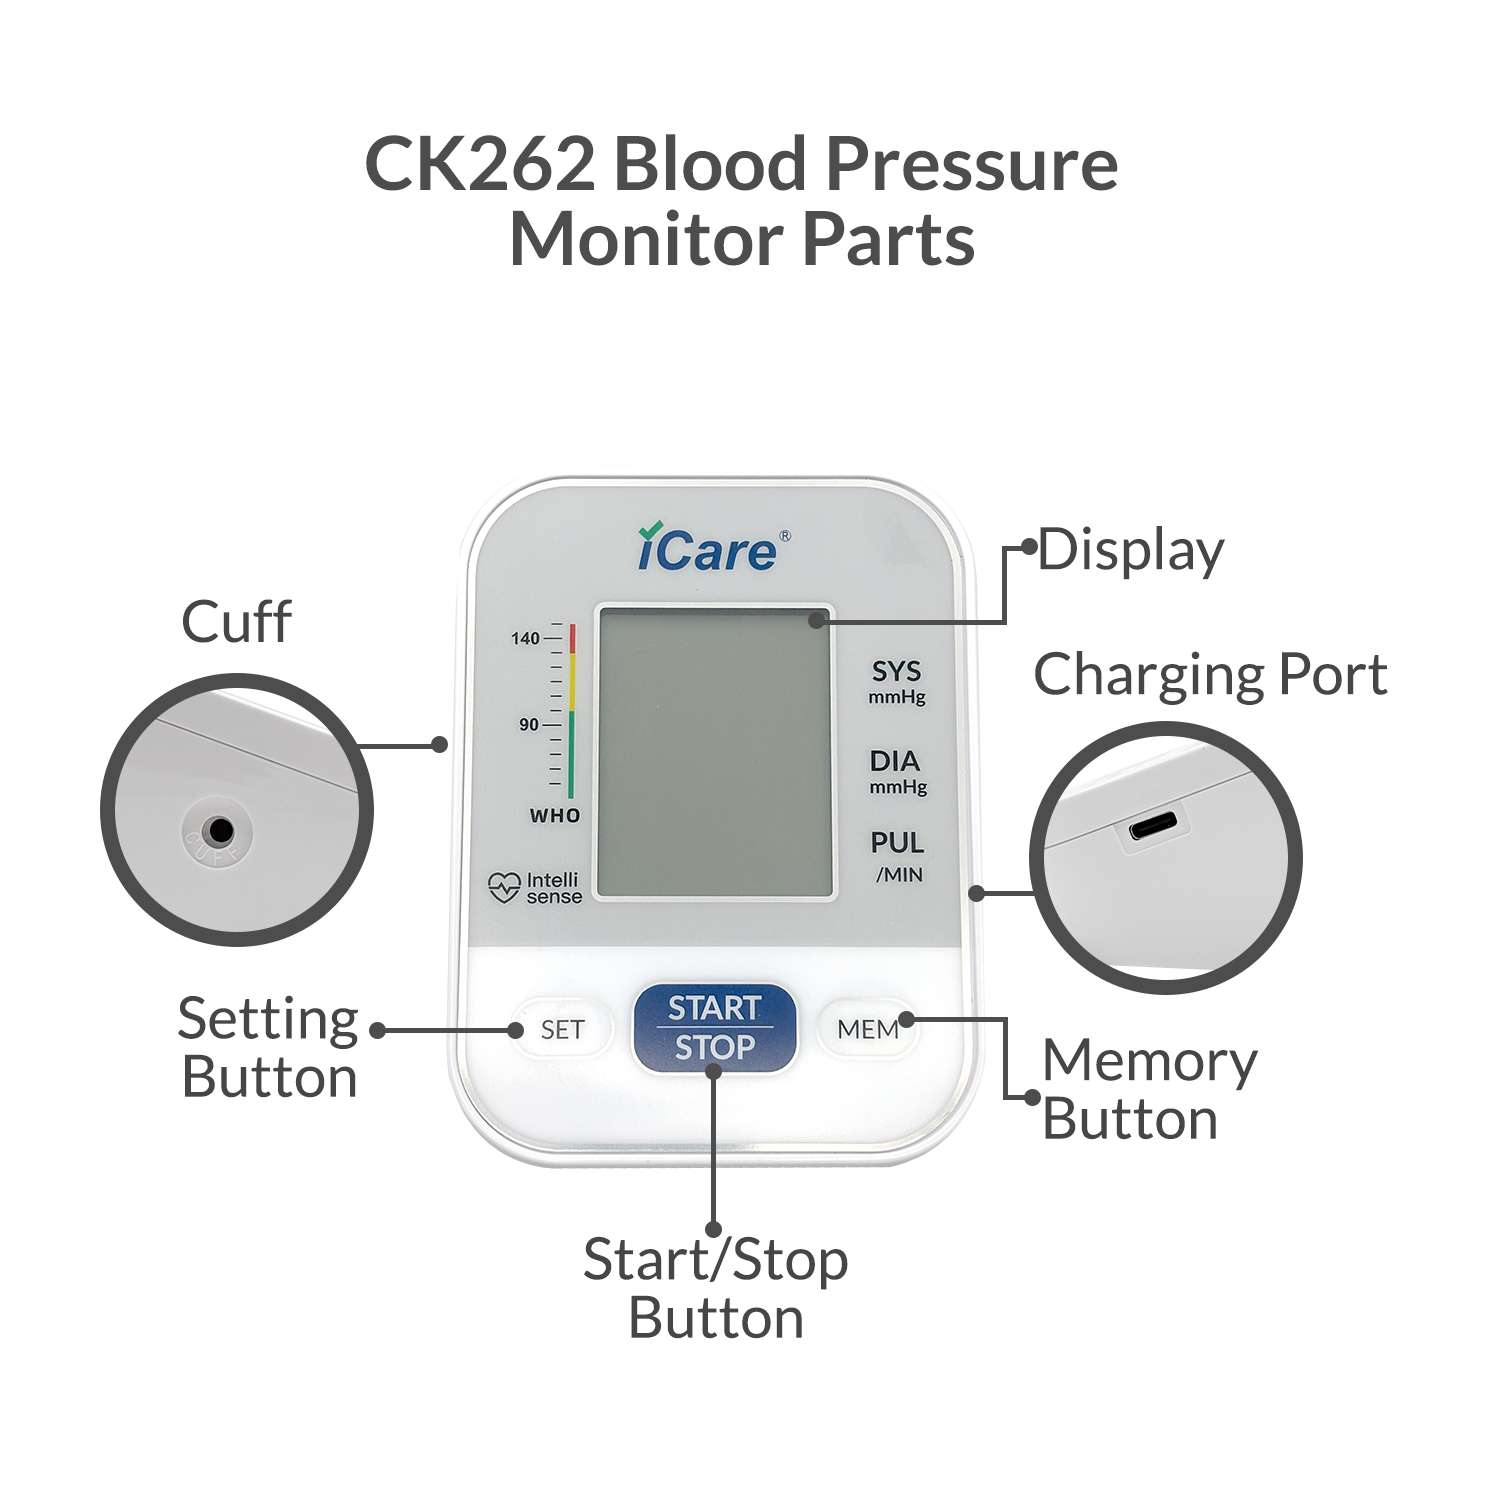
Cuff Size 22cm-32cm
Dual User Function 2 * 99 Memory
Average 3 Times Function
WHO BP Level Indicator
Irregular Heartbeat Indicator
Time and Date Display
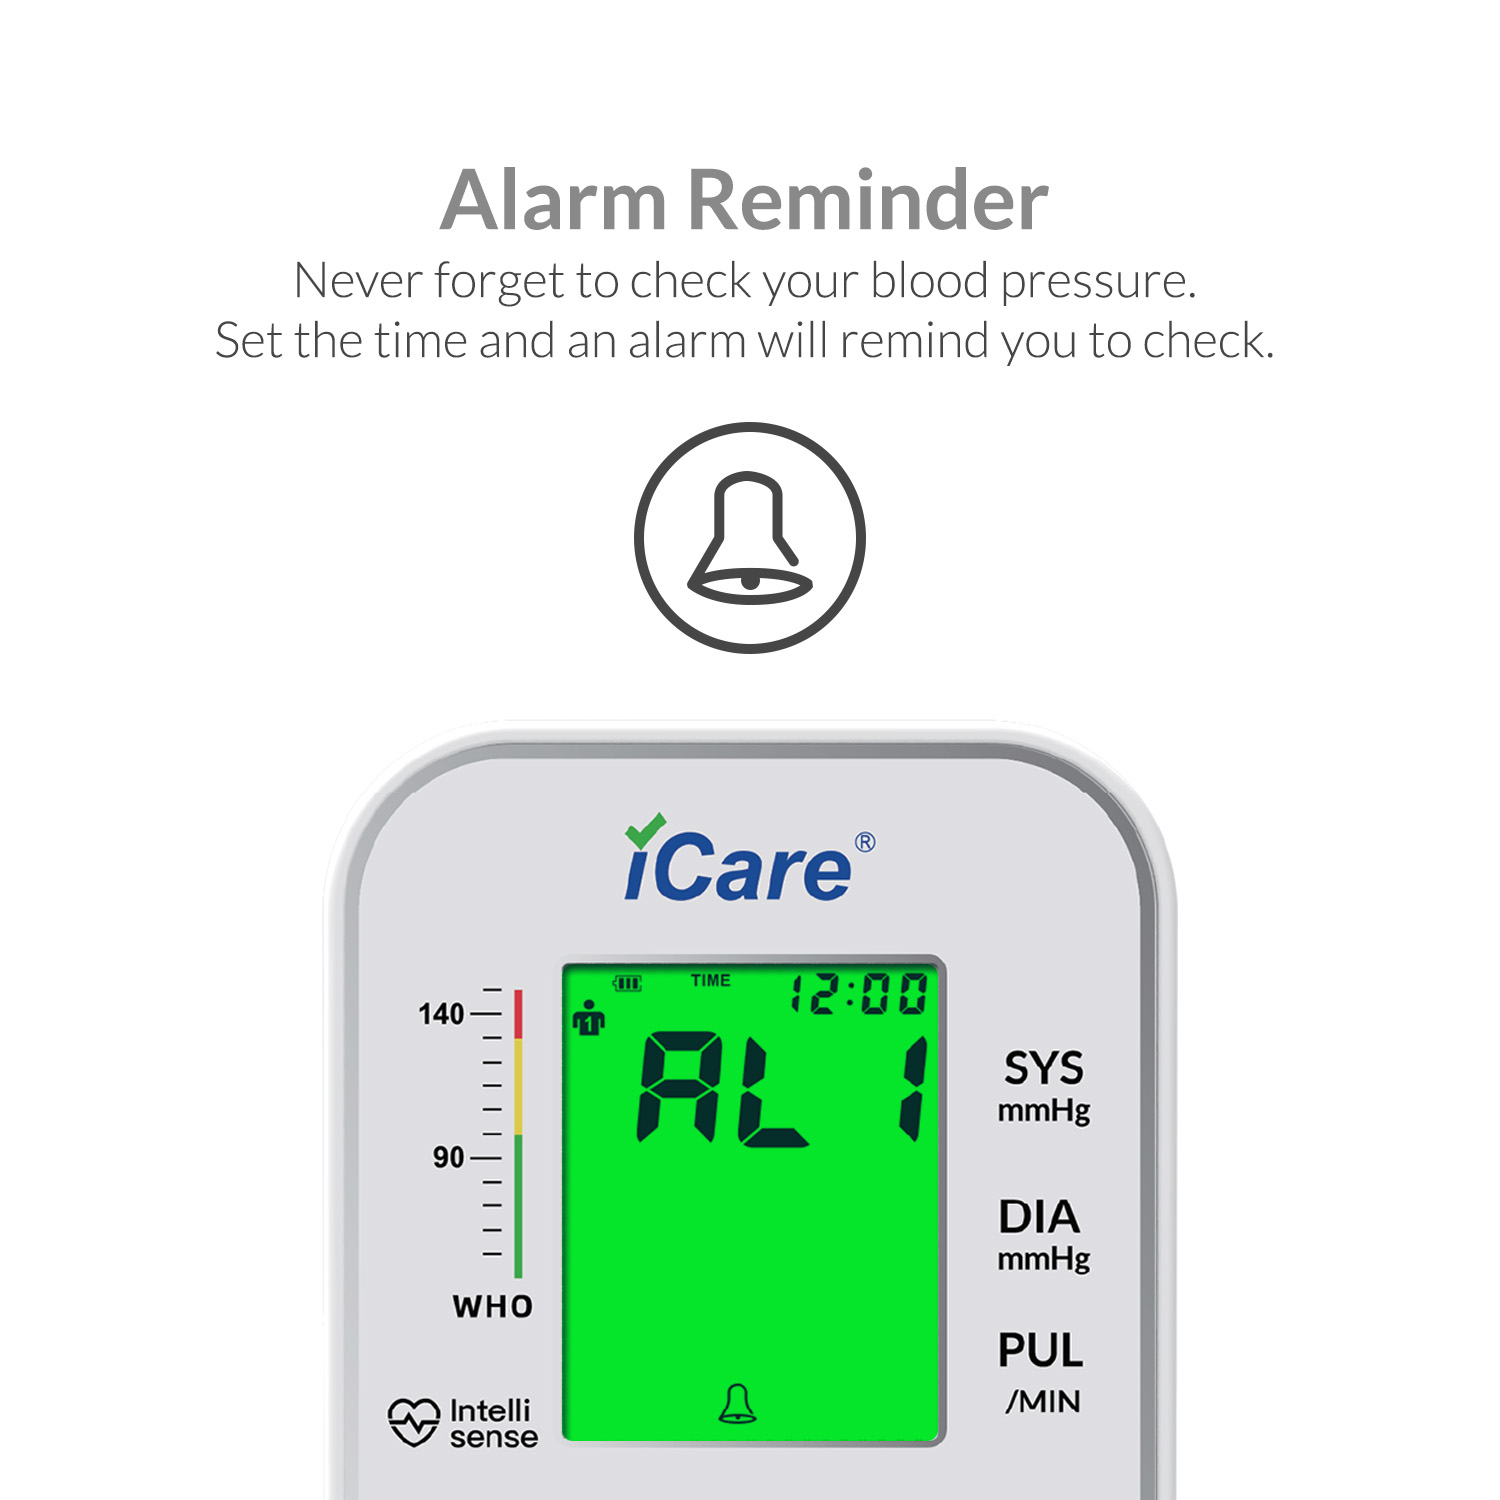
Alarm Reminder
Automatic Shutdown
1 Year Warranty
Basic Specs:
Material: ABS+LCD
Measurement Method: Oscillo metric method
Measuring range:
Pressure: (0-290)mmHg) (0-38.66)kPa
Pulse rate: (40-180) beats/minute
Measurement Accuracy:
Pressure: ±3mmHg | ±0.4kPa
Pulse rate: ±5% of reading
Cuff Circumference: 22cm-32cm
Operating Conditions:
Temperature: +5°C~+40°C;
Humidity: 15%~80%RH
Storage and transportation environment (after removing protective packaging):
(-20~+55)°C;10%~93%RH; 50kPa~106kPa
Memory groups: Two users with 99 results each
Voice: Optional
Automatic shutdown: Automatically shut down within 60 seconds without operation
Power Supply: Rechargeable 3.7 V Lithium Battery
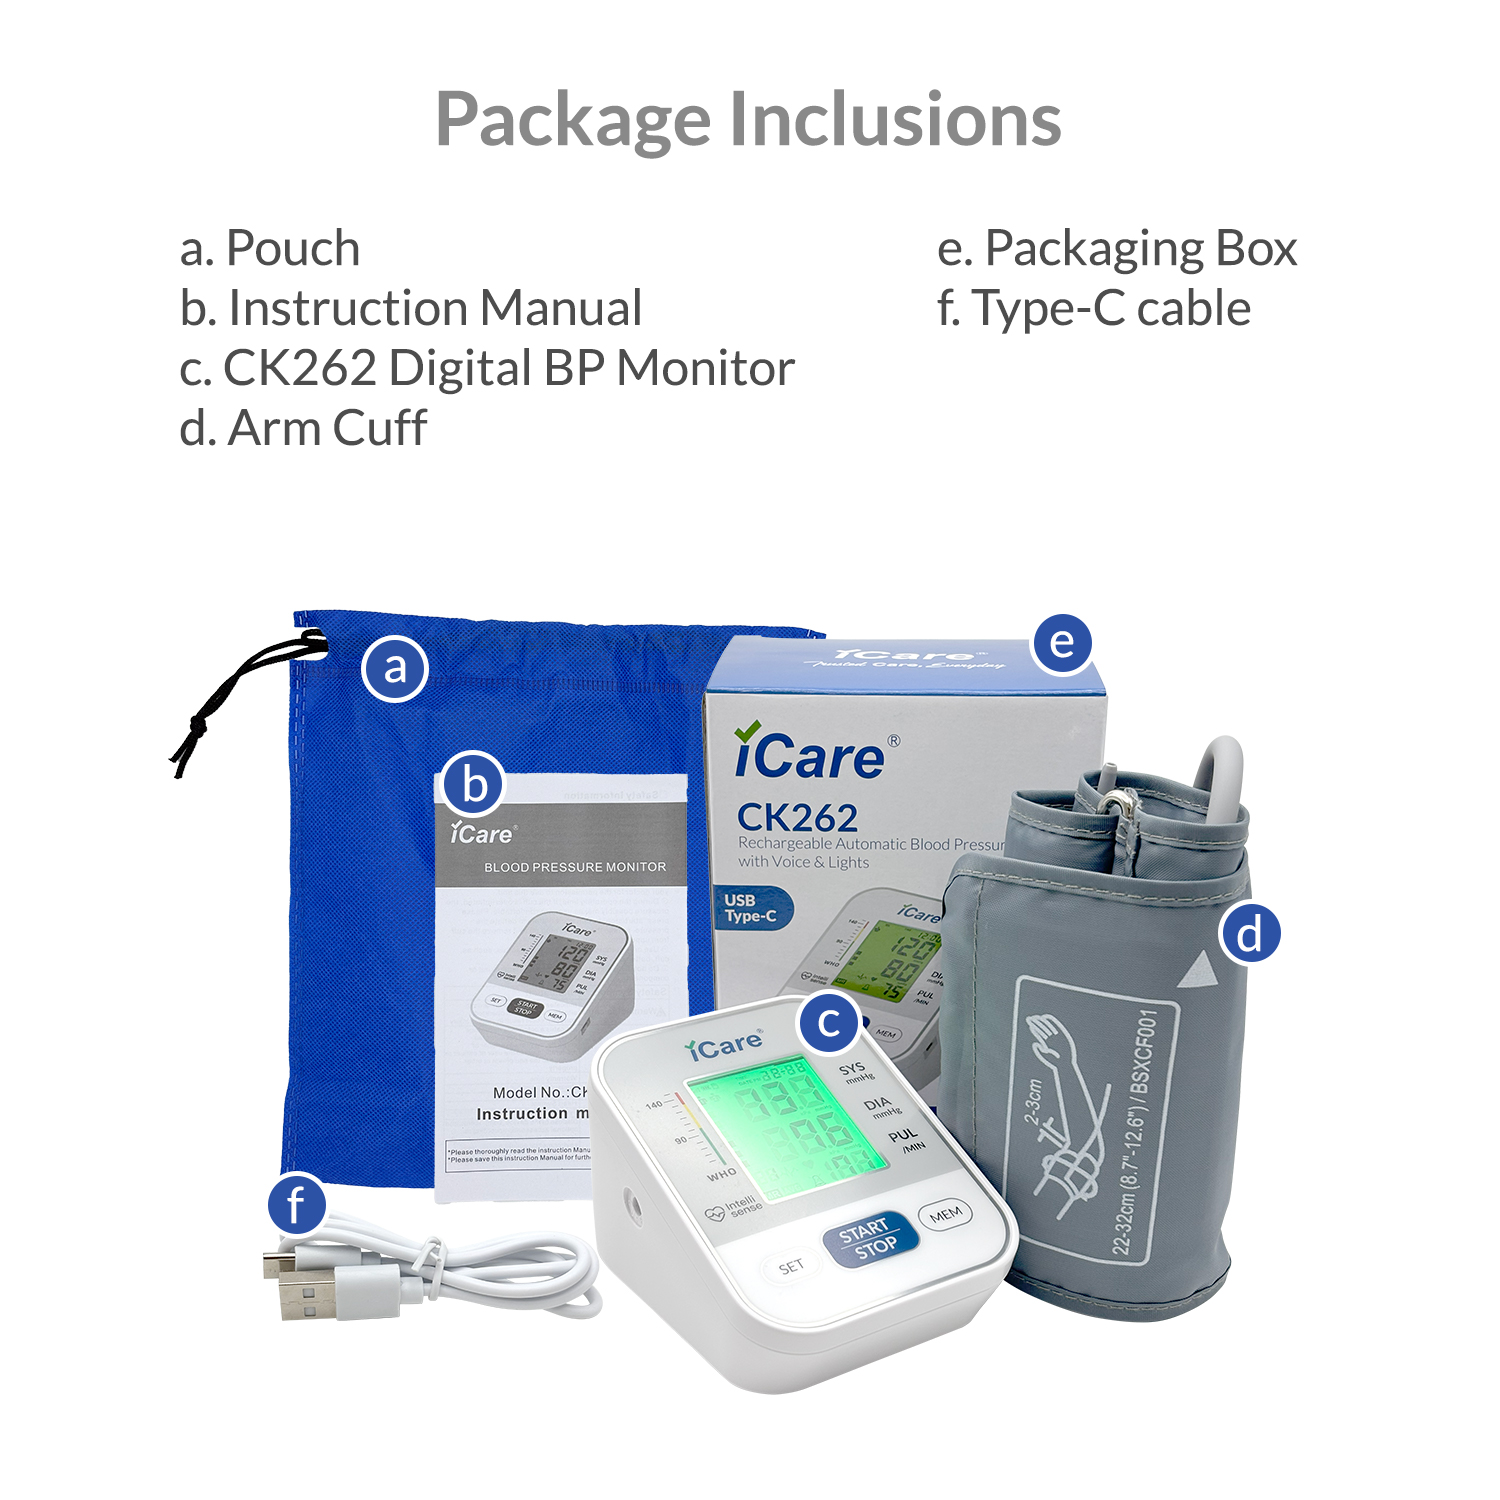
Standard Accessories: 1x CK626 Rechargeable Digital Blood Pressure Monitor with Voice and Lights, 1x Instruction Manual, 1x Type C Charging Cord, 1x Arm Cuff
How to use:
• Remove any accessory from your left arm and make sure that you are wearing loose short sleeved clothes. • Wear the arm cuff properly.
• Place the cuff 2-3 cm above your elbow line. The hose should be positioned on the lower part, and centred on the inside of your elbow. The cuff should not be too tight, with two finger allowance on the inside.
• Connect the armcuff to the device.
• Place the device on top of the table and sit properly. Rest your left arm on the table and make sure that the cuff is on the same level as your heart.
• Press the start/stop button.
• After more or less a minute, your results will be ready.
• This device has Light indicator. The color of the screen changes based on your result. If your result is within normal range, the light will be green. Yellow colored screen means that you might have hypertension. Red means that your result may be extremely high and calls for the need of medical attention. • In cases that you get high results, always test for atleast two more times with 3 minutes rest in between. If the result remains high, seek medical attention immediately.
Charging
• To charge the device, simply plug the type C cord included in the package to a power bank, laptop or desktop computer, or to a charger head and plug it directly to an outlet.
• While charging, the bars on the battery icon on the screen will flash or blink.
• Once the blinking bars stop, this means that the device is fully charged.
Settings
• While the device is off, press and hold the SET button. This will open the settings.
• You will first be prompted to set the year. Press MEM to change, and press SET to save and move to the next parameter.
• Set the month, then the day by pressing MEM to change, and press SET to save.
• Next, you will choose the time format, 12 hours or 24 hours. • You will now set the time. Press MEM to change, and press SET to save. • The next setting allows you to turn the sounds on or off. Press mem to choose and set to save.
• Next, you will set the time for the alarm. Press MEM to change, and press SET to save. After choosing time for the alarm, you will now choose if you want it on or off. The bell icon means that the alarm is on, and the crossed out bell icon means that the alarm is off. Press Mem to change, and set to save.
• You have now changed the settings. The device will turn off automatically.
Changing Users
• While the device is off, press the SET button. This will open the user settings.
• Press set again to change users and press any other button to stay on that user.
Accessing the memory
• While the device is off, press the MEM button. This will open the memory. By default, it will initially show the average of the latest three results if there are three or more results stored in the memory.
• Press mem again to browse through older results, and press set to move to the newer results.
• Press Start/Stop button to exit the memory mode.
Clearing the memory
• While on memory mode, press and hold the start/stop button and memory button simultaneously until the display all changes to dashes( - ).
• When the dashes appear, this means that you have successfully erased all results from the memory.


