DO NOT store the test strip on any other container, doing so might contaminate the test strip.
USING CONTAMINATED TEST STRIPS can lead to errors or inaccurate results.
-
Meter and Lancing Device Lifetime Warranty
-
No Coding
-
Fast result within 10 seconds
-
0.6µL Blood sample
-
Accurate, Affordable and Easy to use
-
Automatically applying blood sample
-
Memory with capacity for 200 results
-
Automatic Strips Ejection
-
More than 1000 battery cycle
Proper Usage of Safe Accu Meter:
Unscrew the lancing device cover. Insert a lancet into the lancing device until it comes to a full stop.
Twist and pull the protective cap of the lancet then set it aside for proper disposal. Screw the lancing device cover back on then pull the spring cover back to arm the lancing. Twist the adjustable tip to adjust puncture depth. 1 is the shallowest while 5 is the deepest.
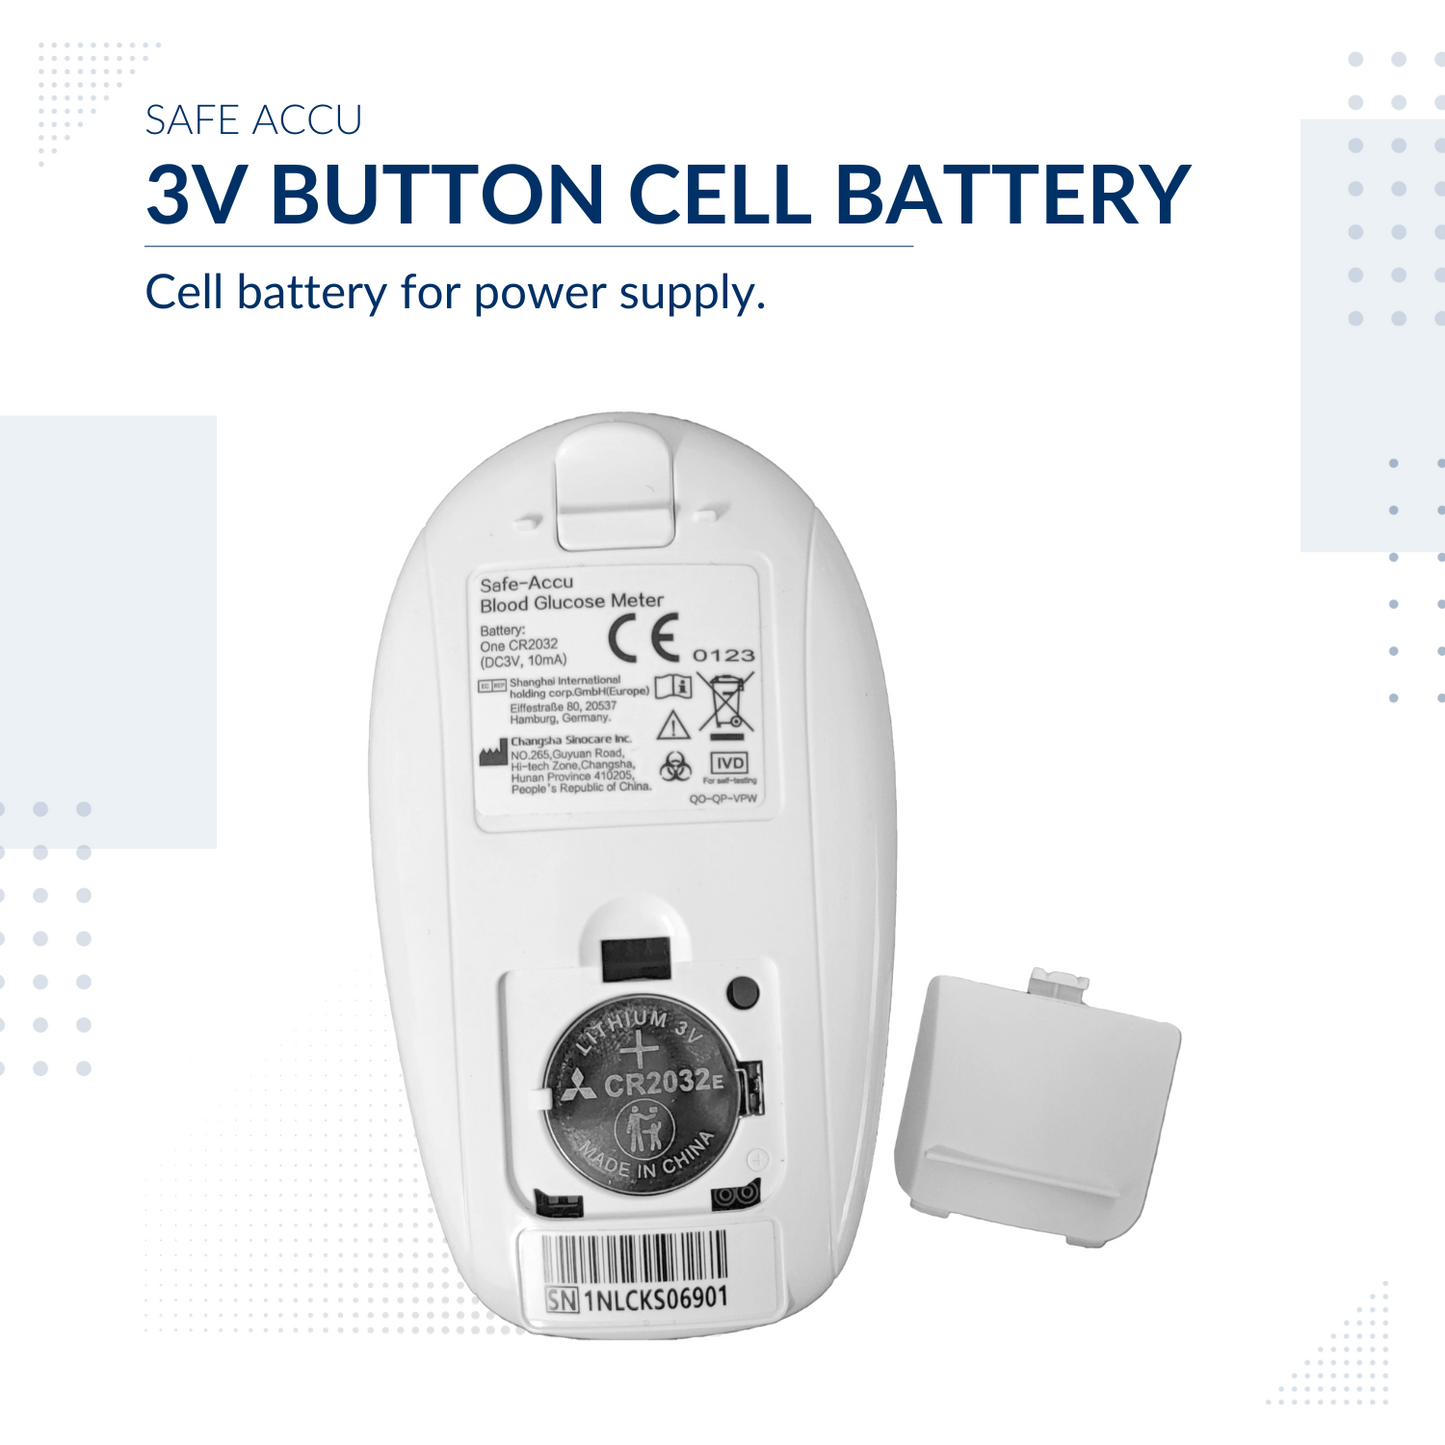
Remove the plastic film on the battery of the glucose meter to allow the device to function.
Long press the power button and insert the test strip into the test strip port.
An icon of a droplet will appear once the device is ready to receive a blood sample.
Warm your hands or massage your finger to promote blood flow. Get an alcohol pad and clean the side of the tip of your finger.
When the alcohol has completely dried, firmly press the lancing device on the tip of your finger and press the button to prick.
For more accurate results, wipe off the first drop of blood with a clean cotton ball or gauze, and get another drop.
Collect blood samples by sticking the test strip to your finger in a slanted manner, not parallel to the skin.
It only takes 10 seconds for the results to appear. You may refer to the blood glucose indicator card to determine if your blood glucose is within normal range.
A built-in strip ejector is available at the back of the meter. Use it for a more sanitary disposal.Use the protective cap of the lancet to cover the needle and dispose of it properly. You may use the lancet ejector.
Setting the Date and Time
While the device is off, press and hold on the D button.
This will allow you to change the time and date of the device.
Press on D to lower the value of the selected data, and press C to increase the value.
Press M to set the number you input.
The date format is year-month-day, while the time is on a 24hr format.
Viewing Previous Test Results.
Turn on the device.
The meter will automatically display the latest test result upon start up.
To browse your other test results, press the D button to go to older test results, and press C to go to the newer ones.
Pressing C on the latest test result will show you the 28 days average result, press again for the 14 days average test result, and press again for the 7 days average result.
Turning off the device
Simply press and hold the power button for 3 seconds. The meter also turns off on its own after 3 minutes on standby.
Resetting the memory
Turn the device on.
This will display the latest test result.
Press on C and M at the same time to reset the memory.
The meter will display 3 dashes once the memory has been reset.


